码农老张 工具
2022-08-10
码农老张 工具
2022-08-10
导入模型
Three.js 提供了很多原始模型,但如果我们需要更复杂的模型,最好使用 3D 软件建模,然后导入到场景中。本节我们就来学学如何导入一个做好的 3D 模型。
3D 模型有各种各样的格式,详情可参考维基百科List_of_file_formats#3D_graphics。这些格式各有特点。接下来我们列举一些比较常见和流行的。
我们不会关心所有的模型。因为 GLTF 模型已经逐渐变为标准,并且能应对绝大部分你遇到的场景。
GLTF 是 GL Transmission Format 的缩写。由 Khronos Group 创造(他们还创造了 OpenGL, WebGL, Vulkan, Collada 并且有很多成员在 AMD / ATI, Nvidia, Apple, id Software, Google, Nintendo, etc 公司 )。
GLTF 在近些年已经变得越来越流行。它可以支持各种数据集,你可以在其格式中使用几何体和材质,同时也可以包含相机、光照、场景、动画、骨骼等。同时支持各种文件格式,例如 json、二进制 binary、embed texture 嵌入纹理等。
GLTF 已经成为了实时渲染的标准,并且也正在成为大部分3D软件、游戏引擎和库的标准模型。这意味着你可以轻松的在各个环境中熟练使用它。
但这并不是说 GLTF 可以覆盖所有场景,如果你仅仅是需要一个几何体,那么可以选择 OBJ、FBX、STL 或 PLY 格式。
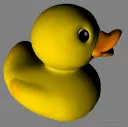
我们后续会学习在 Blender 中创建模型,但现在我们先寻找一个创建好的模型。我们可以在 GLTF 团队的示例中看到各种各样的模型。链接为 glTF Sample Models。首先我们动一个简单的小黄鸭模型作为示例开始入手。
虽然 GLTF 就是一种格式,但是其内部包含了其他格式。我们会发现有很多文件夹,如下图
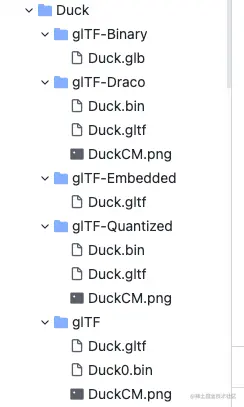
我们来说说这些都是什么
glTF 是默认格式。Duck.gltf 是一个 JSON 文件。包含了各种信息,包含相机、光照、场景、材质等,但没有几何体或纹理贴图。Duck0.bin 是一个二进制文件。通常包含了几何体和UV贴图坐标、法线坐标等。DuckCM.png 是鸭子的纹理贴图。
当我们载入 Duck.gltf 时,它会自动载入其他两个文件。
包含了所有上述的数据,是个二进制文件,不能直接打开。
这个文件格式会更轻量化一些,只有一个文件,也易于载入。但不太方便修改内部的数据。例如你想修改纹理贴图,换一张更压缩的贴图时,就会比较麻烦,因为这些数据都是被集合在了一起,同一个二进制文件中。
有点像说的第一个格式,不过使用了 Draco algorithm 来压缩几何体的数据。如果你对比 .bin 文件的大小,你就会发现这个会更小一点。
这个格式有点像 glTF-Binary 因为也是只有一个文件。但这个文件是一个 JSON 因此你可以在编辑器里打开。
根据不同场景做出不同的选择才是最优方案。
如果你想修改 textures 或导出的光线坐标,最好选择第一个默认的 glTF。它还具有分别加载不同文件的优势,从而提高了加载速度。
如果想要每个模型一个文件,并且不关心模型内的素材修改,那么二进制 glTF-Binary 更适合。
在这两种情况下,您都必须决定是否要使用 Draco 压缩,但我们稍后会介绍这部分。
我们准备一个空白的平面、环境光和平行光。初始代码如下:
import * as THREE from 'three'
import './style.css'
import { OrbitControls } from 'three/examples/jsm/controls/OrbitControls'
import * as dat from 'lil-gui'
import stats from '../common/stats'
import { listenResize } from '../common/utils'
// Canvas
const canvas = document.querySelector('#mainCanvas') as HTMLCanvasElement
// Scene
const scene = new THREE.Scene()
// Gui
const gui = new dat.GUI()
// Size
const sizes = {
width: window.innerWidth,
height: window.innerHeight,
}
// Camera
const camera = new THREE.PerspectiveCamera(75, sizes.width / sizes.height, 0.1, 100)
camera.position.set(4, 4, 12)
// Controls
const controls = new OrbitControls(camera, canvas)
controls.enableDamping = true
controls.zoomSpeed = 0.3
controls.target = new THREE.Vector3(0, 3, 0)
/**
* Objects
*/
// plane
const plane = new THREE.Mesh(
new THREE.PlaneGeometry(15, 15),
new THREE.MeshStandardMaterial({
color: '#607D8B',
})
)
plane.rotateX(-Math.PI / 2)
plane.receiveShadow = true
scene.add(plane)
/**
* Light
*/
const directionLight = new THREE.DirectionalLight()
directionLight.castShadow = true
directionLight.position.set(5, 5, 6)
directionLight.shadow.camera.near = 1
directionLight.shadow.camera.far = 20
directionLight.shadow.camera.top = 10
directionLight.shadow.camera.right = 10
directionLight.shadow.camera.bottom = -10
directionLight.shadow.camera.left = -10
const directionLightHelper = new THREE.DirectionalLightHelper(directionLight, 2)
directionLightHelper.visible = false
scene.add(directionLightHelper)
const directionalLightCameraHelper = new THREE.CameraHelper(directionLight.shadow.camera)
directionalLightCameraHelper.visible = false
scene.add(directionalLightCameraHelper)
const ambientLight = new THREE.AmbientLight(new THREE.Color('#ffffff'), 0.3)
scene.add(ambientLight, directionLight)
// Renderer
const renderer = new THREE.WebGLRenderer({
canvas,
antialias: true,
})
renderer.setSize(sizes.width, sizes.height)
renderer.setPixelRatio(Math.min(window.devicePixelRatio, 2))
renderer.shadowMap.enabled = true
// Animations
const tick = () => {
stats.begin()
controls.update()
// Render
renderer.render(scene, camera)
stats.end()
requestAnimationFrame(tick)
}
tick()
listenResize(sizes, camera, renderer)
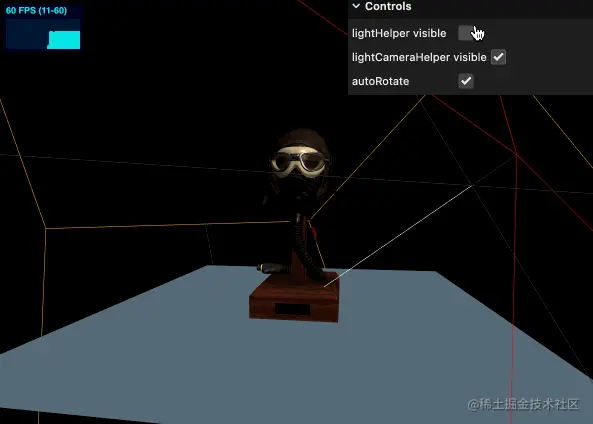
gui.add(directionLightHelper, 'visible').name('lightHelper visible')
gui.add(directionalLightCameraHelper, 'visible').name('lightCameraHelper visible')
gui.add(controls, 'autoRotate')
复制代码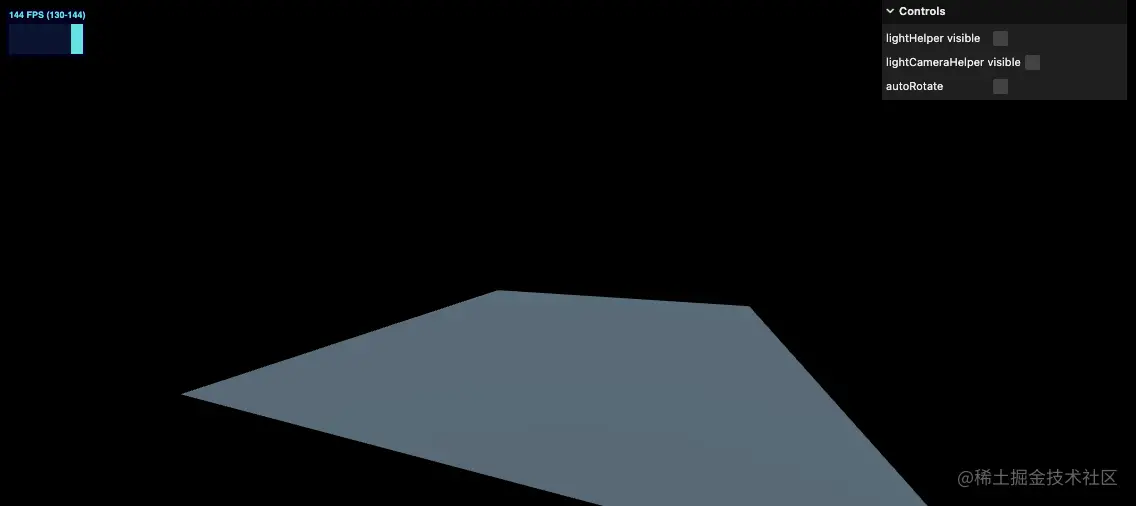
import { GLTFLoader } from 'three/examples/jsm/loaders/GLTFLoader'

// ...

/**
 * Models
 */
const gltfLoader = new GLTFLoader()
gltfLoader.load(
  '../assets/models/Duck/glTF/Duck.gltf',
  (gltf) => {
    console.log('success')
    console.log(gltf)
  },
  (progress) => {
    console.log('progress')
    console.log(progress)
  },
  (error) => {
    console.log('error')
    console.log(error)
  },
)
复制代码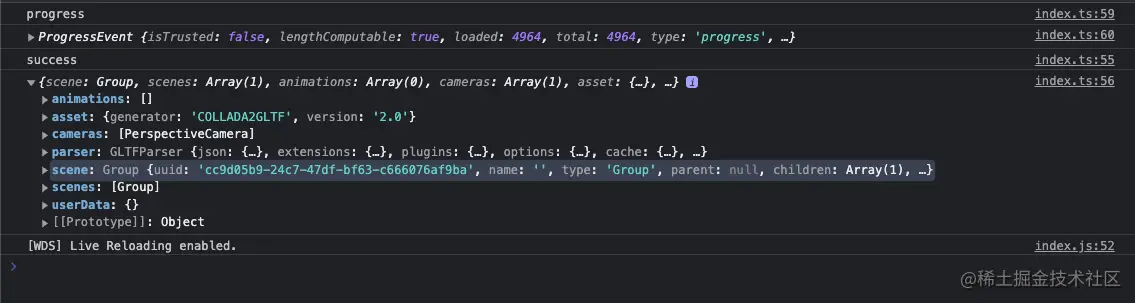
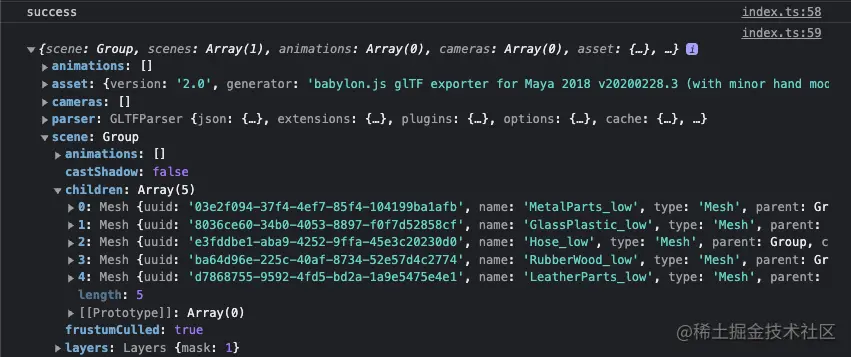
可以看到模型已经被正常载入,接下来让我们将它添加到场景中吧
可以看到导入的模型 scene 的目录结构大致如下,可以看到除了模型之外还有很多其他的对象。
THREE.Group: scene
└───Array: children
    └───THREE.Object3D
        └───Array: children
            ├───THREE.PerspectiveCamera
            └───THREE.Mesh
复制代码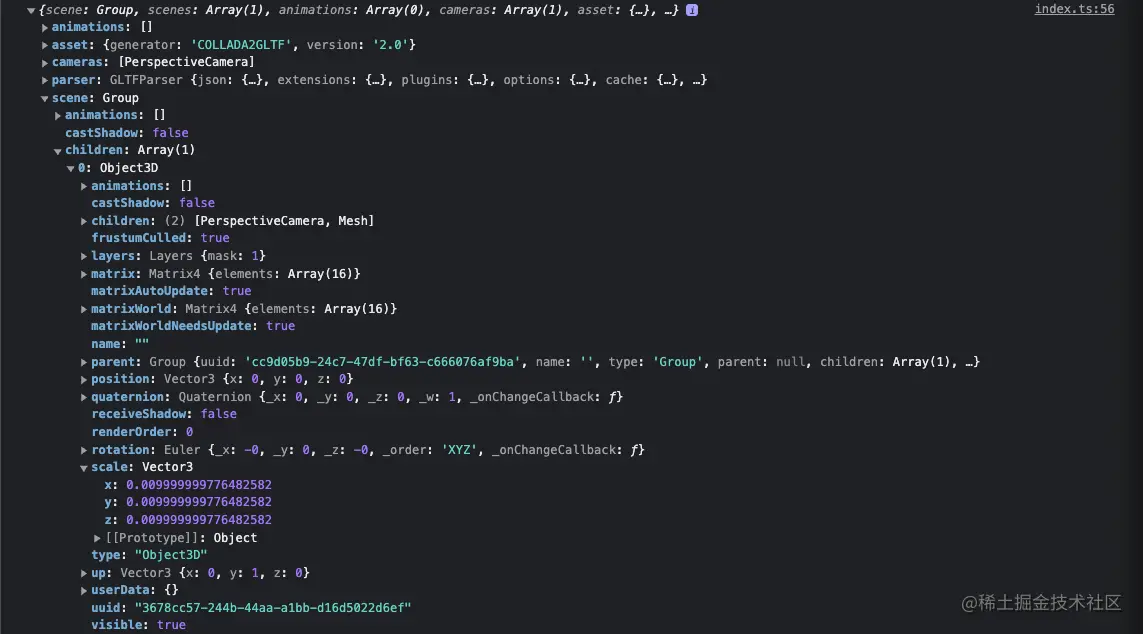
我们有以下几种方式将模型添加到场景
因为我们的模型很简单,因此我们可以将其返回的 scene.children[0] 整体添加到我们的 Three 场景中(即上述的第二种方式)。代码如下
/**
 * Models
 */
const gltfLoader = new GLTFLoader()
gltfLoader.load(
  '../assets/models/Duck/glTF/Duck.gltf',
  (gltf) => {
    console.log('success')
    console.log(gltf)
    scene.add(gltf.scene.children[0])
  },
  (progress) => {
    console.log('progress')
    console.log(progress)
  },
  (error) => {
    console.log('error')
    console.log(error)
  },
)
复制代码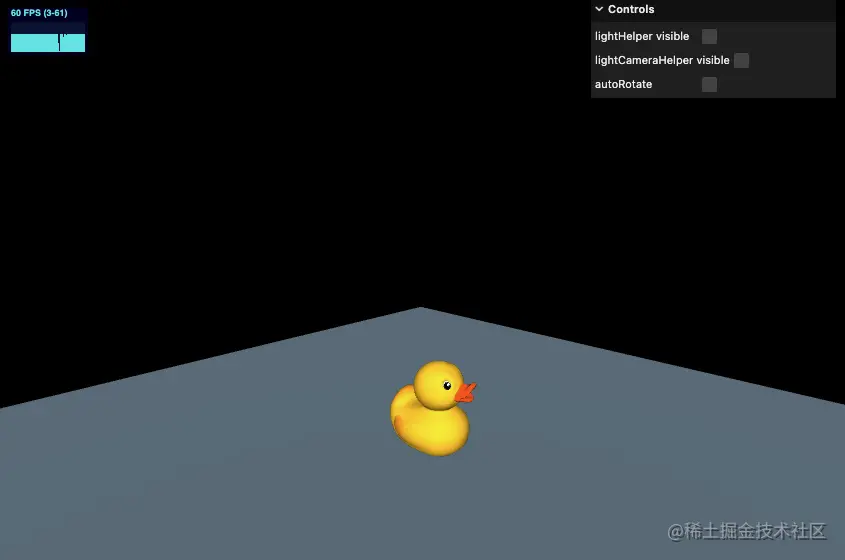
我们也可以尝试其他的格式导入,除了 Draco 压缩格式外,其他都生效了,效果如上图。Draco 我们后续会说的,它需要一个特殊的 loader。
/**
* Models
*/
const gltfLoader = new GLTFLoader()
gltfLoader.load(
// '../assets/models/Duck/glTF/Duck.gltf',
// '../assets/models/Duck/glTF-Binary/Duck.glb',
'../assets/models/Duck/glTF-Embedded/Duck.gltf',
(gltf) => {
console.log('success')
console.log(gltf)
scene.add(gltf.scene.children[0])
},
(progress) => {
console.log('progress')
console.log(progress)
},
(error) => {
console.log('error')
console.log(error)
},
)
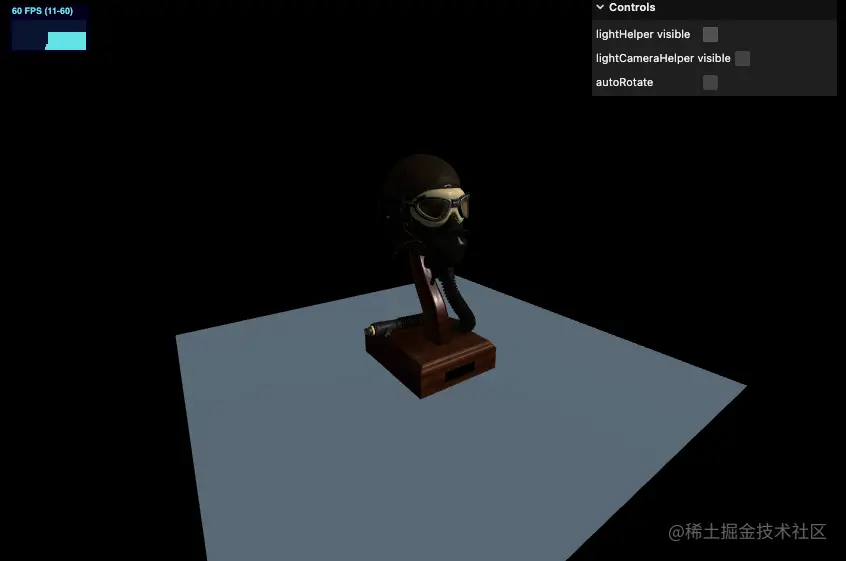
复制代码接下来我们导入 FlightHelmet 飞行员头盔模型
/**
 * Models
 */
const gltfLoader = new GLTFLoader()
gltfLoader.load(
  '../assets/models/FlightHelmet/glTF/FlightHelmet.gltf',
  (gltf) => {
    console.log('success')
    console.log(gltf)
    scene.add(gltf.scene.children[0])
  },
  (progress) => {
    console.log('progress')
    console.log(progress)
  },
  (error) => {
    console.log('error')
    console.log(error)
  },
)
复制代码
可以看到只导入了模型的一部分
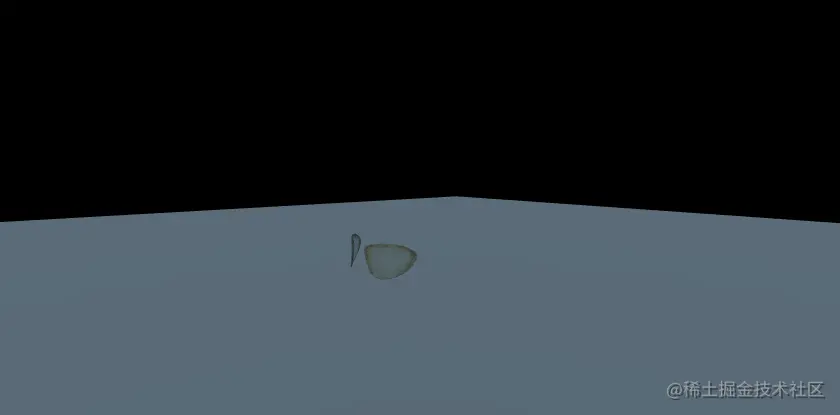
这是因为这个模型被拆成了多个部分,如果想要完整导入,我们需要添加它的父节点,同时再修改一下缩放比例
/**
 * Models
 */
const gltfLoader = new GLTFLoader()
gltfLoader.load(
  '../assets/models/FlightHelmet/glTF/FlightHelmet.gltf',
  (gltf) => {
    console.log('success')
    console.log(gltf)
    gltf.scene.scale.set(10, 10, 10)
    scene.add(gltf.scene)
  },
  (progress) => {
    console.log('progress')
    console.log(progress)
  },
  (error) => {
    console.log('error')
    console.log(error)
  },
)
复制代码